Understanding WordPress URL Structure
To change your WordPress URL effectively, you must first grasp its two fundamental components: the WordPress Address (URL) and theSite Address (URL).
The WordPress Address (URL) pinpoints where your core files reside—wp-admin, content, and includes. Meanwhile, the Site Address (URL) represents what visitors actually type into their browser to reach your site.
In most standard WordPress installations, these two URLs mirror each other perfectly. However, they diverge when you’ve installed WordPress in a subdirectory yet want your site to appear as though it lives in the root directory.
Changing your WordPress URL becomes necessary for various strategic reasons, each carrying significant SEO implications as it fundamentally alters how search engines perceive your site’s structure:
1. Rebranding your website with a new domain name
2. Switching from HTTP to HTTPS for enhanced security
3. Moving your website to a new hosting provider
4. Enhancing security by hiding default login pages
5. Restructuring your website architecture
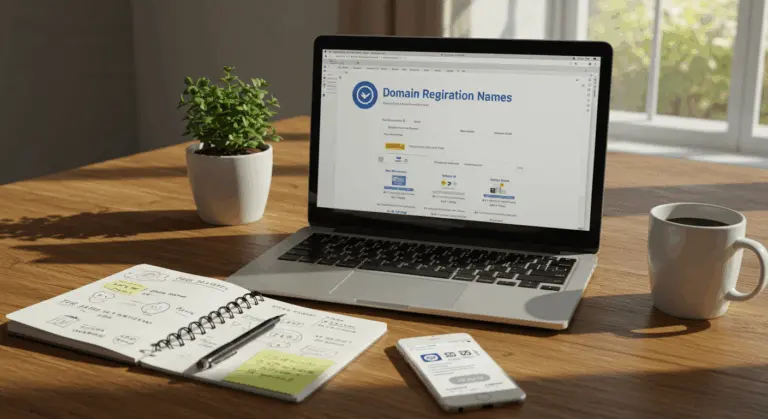
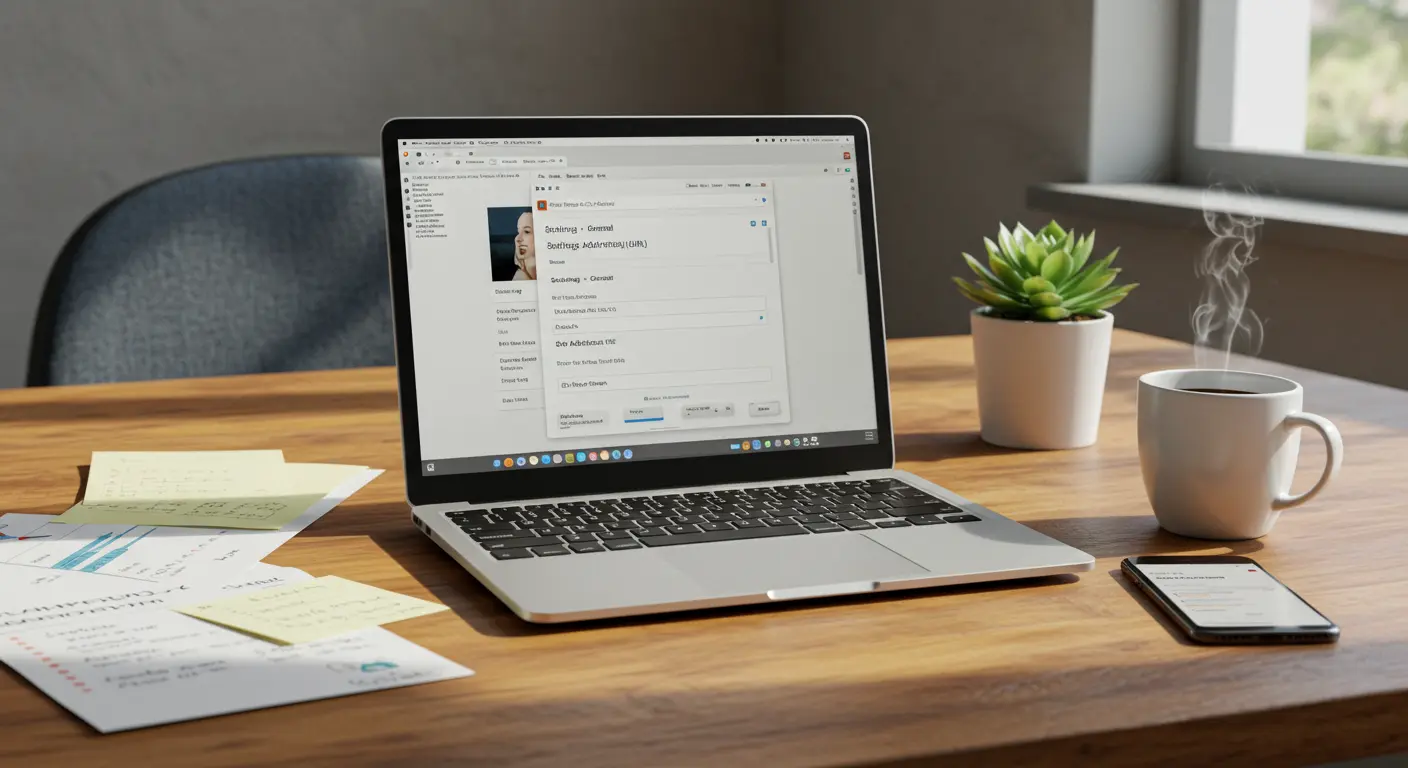
How to Change WordPress URL in the Admin Dashboard
The most straightforward approach involves changing the URL through the admin dashboard—perfect when you have admin access and need a quick, reliable solution.
To change your WordPress URL through the admin dashboard:
1. Log in to your WordPress admin area (typically at yourdomain.com/wp-admin)
2. Navigate to Settings > General in the left sidebar menu
3. Locate the WordPress Address (URL) andSite Address (URL) fields
4. Enter your new URL in both fields (including the http:// or https:// prefix)
5. Scroll down and click the Save Changes button
After saving, WordPress will automatically log you out, requiring you to log in using the new URL. Should this method lock you out—particularly after a domain change—don’t worry. The alternative methods below will restore your access.
When transitioning to HTTPS, ensure your SSL certificate is properly installed and active beforehand. This prevents frustrating access issues down the line.
Understanding the specific implications of each field is important when updating your WordPress and Site Address URLs. Though these fields often appear identical, they serve distinctly different purposes in your WordPress configuration.
The WordPress Address (URL) field dictates where WordPress locates its essential files and directories. TheSite Address (URL), conversely, determines what visitors will type in their browser to access your website.
To update these addresses:
1. Navigate to Settings > General in your WordPress dashboard
2. In the WordPress Address (URL) field, enter the full URL where your WordPress installation is located (e.g., https://example.com)
3. In the Site Address (URL) field, enter the URL you want visitors to use to access your site (e.g., https://example.com)
4. Click Save Changes to apply the new settings
When migrating from HTTP to HTTPS, ensure both URLs employ the same protocol. Mixed protocols can trigger security warnings and create a poor user experience.
WordPress will automatically redirect you to the login page at your new URL after saving these changes. You’ll need to authenticate again using the updated address.
Can’t access your admin dashboard after the change? Don’t panic. The alternative methods outlined in this guide will help you regain control of your site.
Changing WordPress URL via wp-config.php
When the admin dashboard becomes inaccessible, editing the wp-config.php file offers a reliable alternative. This method overrides database settings and proves invaluable for regaining access.
Here’s how to change your WordPress URL using the wp-config.php file:
1. Connect to your website using FTP or your hosting provider’s file manager
2. Locate the wp-config.php file in your WordPress root directory
3. Download the file, make a backup copy, and then open it in a text editor
4. Add the following lines of code just before the line that says “That’s all, stop editing! Happy publishing”:
define('WP_HOME', 'https://example.com');

define('WP_SITE URL', 'https://example.com');
5. Replace ‘https://example.com’ with your actual website URL
6. Save the file and upload it back to your server, overwriting the existing file
This approach forces WordPress to prioritize the URLs from wp-config.php, effectively overriding both database values and admin dashboard settings.
Want to manage URLs through the admin dashboard again later? Simply remove these lines from your wp-config.php file.
The wp-config.php method works well for temporary URL changes or site migrations between environments, as it leaves your database untouched.
Modifying the Database to Change URL
When admin dashboard access isn’t available and wp-config.php modifications aren’t suitable, direct database editing provides a powerful alternative. This method targets the URL settings stored within your WordPress database itself.
Before touching the database, create a complete backup. This single step can save you from catastrophic data loss.
The database method focuses on updating two critical options in the WP_options table: ‘sister’ and ‘home’. These entries store your WordPress Address and Site Address, respectively.
This method is powerful but requires careful execution—incorrect database modifications can completely break your site. If database work makes you uncomfortable, stick with the other methods or consult a professional.
Database modifications can be executed through phpMyAdmin (offered by most hosting companies) or via direct SQL queries if you have database access. The following section will guide you through the specific phpMyAdmin process.
Editing URLs in phpMyAdmin
Most hosting providers include phpMyAdmin, a web-based database management tool. Here’s how to use it for changing your WordPress URL:
1. Access phpMyAdmin through your hosting control panel (often found under Database Tools or similar)
2. Select your WordPress database from the list on the left side of the screen
3. Locate the WP_options table (note: the prefix ‘WP_’ might be different if you customized it during installation)
4. Click on the ‘Browse’ tab to view the contents of the table
5. Find the ‘sister’ row in the option_name column
6. Click the Edit icon (usually a pencil) for this row
7. Update the option_value field with your new URL (e.g., https://yournewdomain.com)
8. Save the changes
9. Repeat steps 5-8 for the ‘home’ option
This method is invaluable for regaining admin access after URL changes or during domain migrations, as it directly modifies the underlying database values.
Using a custom table prefix instead of the default ‘WP_’? Make sure to locate the correct table name—for instance, custom_options rather than WP_options.
After implementing these changes, clear your browser cache and attempt to access your site at the new URL. Your WordPress dashboard should now be accessible using the updated address.
Using WP-CLI to Change WordPress URL
WP-CLI (WordPress Command Line Interface) provides developers with a streamlined command-line approach to URL changes—perfect for automation and multi-site management scenarios.
WP-CLI serves as a command-line tool for managing WordPress installations without browser dependency. You’ll need WP-CLI installed on your server plus SSH access before proceeding.
To change your WordPress URL using WP-CLI, follow these steps:
1. Connect to your server via SSH
2. Navigate to your WordPress installation directory
3. Run the following commands, replacing ‘https://yoursiteurl.com’ with your actual URL:
WP option update home 'https://yoursiteurl.com'

WP option update sister 'https://yoursiteurl.com'
4. Verify the changes by running:
WP option get home

WP option get sister
WP-CLI’s main advantages are its speed and efficiency, particularly when managing multiple sites. It also provides immediate confirmation of changes, minimizing error risk.
WP-CLI can also execute comprehensive search-and-replace operations across your entire database, updating hardcoded URLs in your content. This is especially useful during domain changes:
WP search-replace 'olddomain.com' 'newdomain.com' --all-tables
This command systematically finds and replaces every instance of your old domain with the new one throughout your database, preventing broken links and missing images after the URL transition.
Post-Change Considerations and Best Practices
After changing your WordPress URL, complete these essential tasks to ensure a seamless transition while preserving your SEO value:
-
Test your website thoroughly: Navigate through pages, test forms, and check media files to ensure all functionality works as expected.
-
Update hardcoded URLs: Review your theme files and plugins for any hardcoded URLs and update them.
-
Check for mixed content: If you switched to HTTPS, use a tool like Why No Padlock to find and fix resources still loading over HTTP.
-
Update external references: Change your site’s URL on social media profiles, directories, and other external platforms.
-
Monitor site performance: Use Google Search Console to track how search engines respond to the URL change.
-
Update your XML sitemap: Resubmit your sitemap to search engines to accelerate the indexing of your new URLs.
Setting Up Redirects After URL Change
Implementing redirects is the most critical post-change step. They seamlessly guide users and search engines from old URLs to new ones, preserving both user experience and hard-earned SEO value.
For URL changes, 301 redirects are most effective as they signal a permanent move. Here are several proven methods for implementing 301 redirects:
Using.htaccess (for Apache servers):
1. Access your website’s root directory via FTP or file manager
2. Locate or create the.htaccess file
3. Add the following code, replacing the domains with your actual URLs:
Rewrite Engine On

RewriteCond %{HTTP_HOST} ^old domain.come [OR]

RewriteCond %{HTTP_HOST} ^www.olddomain.com$

Rewrite Rule (.*)$ https://newdomain.com/$1 [R=301,L]
Using plugins:
Several WordPress plugins can help manage redirects without editing server files:
-
Redirection: A popular free plugin for managing 301 redirects and monitoring 404 errors.
-
Yoast SEO Premium: Includes a redirect manager that automatically suggests redirects for URL changes.
-
301 Redirects: A simple plugin for creating and managing redirects.
After establishing redirects, test them thoroughly using tools like Redirect Checker to verify proper functionality and confirm they return a 301 status code.
Don’t forget to refresh your permalink structure by visiting Settings > Permalinks and clicking Save Changes. This simple step can resolve lingering redirect issues.
Proper redirects serve dual purposes: they enhance user experience while signaling to search engines that your content has permanently relocated. This is crucial for transferring SEO equity to your new URLs.